Cloud bread is a light and airy alternative to traditional wheat bread that has taken the internet by storm due to its unique texture. This flourless wonder relies on the power of whipped egg whites to create a soft, pillowy disc that melts in your mouth.
It is the perfect solution for anyone looking for a low-carb or gluten-free way to enjoy sandwiches and snacks.
Ingredients
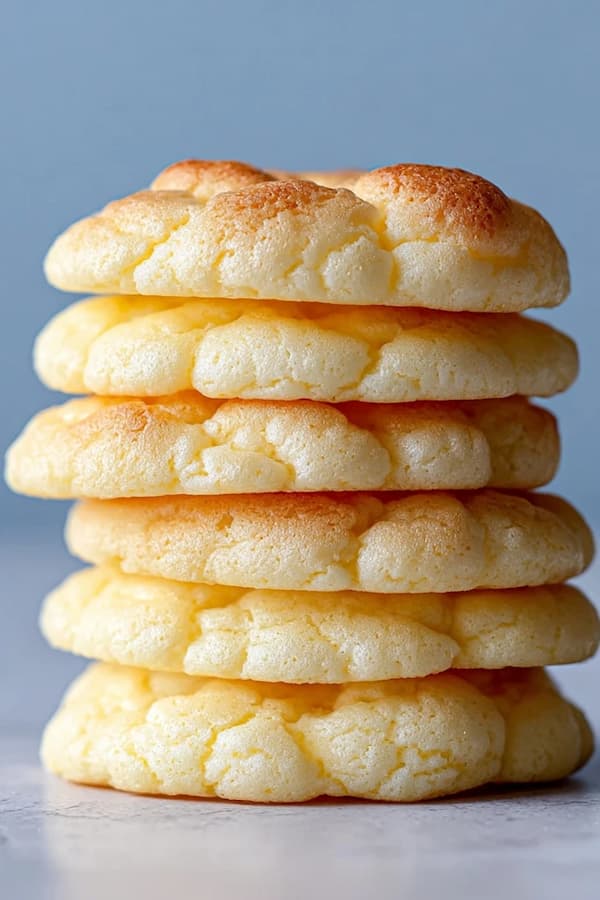
This recipe makes 6 individual cloud bread rounds, which is perfect for three servings of two pieces each.
- 3 large eggs (at room temperature)
- 3 tablespoons cream cheese (softened)
- 1/4 teaspoon cream of tartar
- 1/2 teaspoon honey or a pinch of sea salt (depending on your flavor preference)
- 1/2 teaspoon garlic powder (optional for savory versions)
Clean Separation
A top-notch cloud bread begins with the careful separation of your eggs. You must ensure that no yolk enters the white mixture. Even a tiny drop of fat from the yolk will prevent the whites from stiffening, leaving you with a flat and liquid batter.
It is best to crack each egg over a small bowl first before transferring the white to your main mixing bowl. This prevents one bad crack from ruining your entire batch of egg whites.
Once you have three clean whites in a large bowl, place the three yolks in a separate medium bowl. Your yolks will serve as the rich, flavorful base of the bread, while the whites provide the structure.
Using room-temperature eggs is a professional trick that allows the proteins to stretch more easily, resulting in a much larger volume when whipped. This is the first and most vital step in creating that signature “cloud” look that works so well for food photography.
Yolk Blend
In the bowl with your egg yolks, add the softened cream cheese and your choice of seasoning. Whether you prefer a sweet version with honey or a savory one with garlic and salt, the cream cheese is what gives the bread its body.
Use a whisk or a fork to blend these ingredients until the mixture is completely smooth. You should not see any white lumps of cream cheese remaining in the yellow liquid.
The cream cheese acts as the “flour” in this recipe, providing the necessary fats to make the bread satisfying. If your cream cheese is too cold, it will stay lumpy and create uneven spots in your finished bread.
Soften it on the counter for at least thirty minutes before you start. This smooth emulsion is what ensures your cloud bread has a consistent and professional-grade crumb once it comes out of the oven.
Peak Power
Now it is time to focus on the egg whites. Add the cream of tartar to the whites and use an electric hand mixer on a high setting. The cream of tartar is an acidic stabilizer that helps the whites hold onto the air bubbles you are about to create.
Beat the whites until they form “stiff peaks.” You know you have reached this stage when you lift the beaters and the peaks of foam stand straight up without curling over at the tips.
This process usually takes about four to five minutes. Achieving stiff peaks is the most important part of the entire recipe. If the whites are under-beaten, the bread will be flat and rubbery. If they are over-beaten, they will become dry and grainy.
A top-notch food blogger knows that the “stiff peak” is the engine that drives the rise of the bread. Once the whites are ready, they should look glossy and white, resembling a thick shaving cream.
Gentle Fold
This is where you combine your two mixtures. Pour the yolk and cream cheese blend over the whipped whites. Use a large rubber spatula to “fold” the mixtures together.
Do not stir or whisk at this stage. Folding involves cutting through the middle with the spatula and lifting the bottom over the top in a slow, circular motion. You want to preserve as many air bubbles as possible.
Stop folding as soon as you no longer see large streaks of bright yellow. It is better to have a slightly marbled batter than to over-work it and deflate the whites.
If you are too aggressive, the batter will turn into a liquid, and your bread will not hold its shape on the baking sheet. This gentle touch is what gives the bread its incredible, light texture that defies the laws of traditional baking.
Pan Scoop
Preheat your oven to 300°F. Line a large baking sheet with parchment paper. This bread is very delicate and will stick to a bare pan, so the parchment is a non-negotiable step. Use a large spoon or a measuring cup to scoop the batter onto the sheet into six equal mounds.
You can use the back of the spoon to flatten the tops slightly into circles, but keep them about half an inch thick.
Space the rounds out so they have room to breathe. While cloud bread does not spread as much as a cookie, it still needs air circulation to bake evenly. If you want a more rustic look, you can leave the mounds a bit taller and more irregular.
This creates a beautiful, wavy surface that catches the light perfectly for your blog. Using simple and direct motions here ensures the batter stays puffed up and ready for the heat.
Golden Glow
Slide the tray into the oven and bake for 25 to 30 minutes. Because every oven is different, you should start checking the bread at the twenty-minute mark.
You are looking for a beautiful, golden-brown color on the tops. The bread should feel firm to the touch and not sticky. If the centers still feel a bit soft, give them another five minutes.
Avoid the temptation to open the oven door too often. The sudden drop in temperature can cause the delicate structures to collapse. A top-notch result comes from steady, even heat. Once the bread is done, it will have a slightly toasted aroma.
Remove the tray from the oven and let the cloud bread sit on the parchment paper for at least ten minutes. The bread will soften slightly as it cools, transforming from a crisp exterior to a flexible, bread-like texture.
Texture Shift
When cloud bread first comes out of the oven, it can feel a bit like a toasted marshmallow. To get the best “bread-like” feel, place the cooled rounds in an airtight container or a zip-top bag for a few hours.
The trapped moisture will soften the crust, making the rounds pliable enough to fold for a sandwich. This is a vital secret for anyone who finds the texture too “eggy” or crisp right after baking.
This resting period allows the fats from the cream cheese and the proteins from the eggs to fully bond.
The result is a soft, durable disc that can hold meat, cheese, or even a spread of nut butter. It is a professional-grade technique that makes the bread much more useful for everyday meals. This patience is what separates a quick snack from a top-notch kitchen staple.
Common Pitfalls
The biggest mistake is the presence of fat in the whites. Always make sure your bowl and beaters are perfectly clean and dry. Another issue is the temperature. If your oven is too hot, the bread will brown on the outside but stay raw and “wet” in the middle.
Stick to the low 300°F setting for a slow, even bake. This ensures the moisture evaporates without burning the delicate egg proteins.
Finally, avoid skipping the cream of tartar. While you can use a few drops of lemon juice or white vinegar as a substitute, an acidic stabilizer is necessary to keep the air bubbles from popping.
Without it, your cloud bread will likely deflate as soon as it hits the heat. Following these simple rules ensures that your results match the beautiful images you see on your favorite food sites.
How do I store cloud bread for the week?
Cloud bread should be stored in an airtight container in the refrigerator once it has cooled completely. It will stay fresh for up to three days. If you find that the pieces have become too soft or damp in the fridge, you can pop them in a toaster on a very low setting for thirty seconds to revive the texture.
Do not use a high setting, as the high fat and protein content means the bread can burn much faster than traditional wheat bread.
Can I freeze cloud bread for meal prep?
Yes, cloud bread is surprisingly freezer-friendly. Place a small piece of parchment paper between each round so they do not stick together, then place the stack in a freezer-safe bag. They will last for up to two months.
When you are ready to eat one, let it thaw at room temperature for ten minutes or warm it in a low-heat oven. This makes it a reliable option for anyone who wants to prep a large batch of low-carb bread alternatives at once.